Integrations
Incident Bot features several integrations to help with automation at critical junctures during the incident management process.
Atlassian
The bot supports the following Atlassian products:
- Confluence
- Jira
- Statuspage
To start with any of these integrations, you'll need an API token for your Atlassian account. The token can be created here.
Provide the following environment variables to the bot:
ATLASSIAN_API_URL- The URL of the Atlassian account.ATLASSIAN_API_USERNAME- Username that owns the API token.ATLASSIAN_API_TOKEN- The API token.
Confluence
You are required to provide a template ID for the bot to use - the bot will not create a page that is not based on a template. If you do not provide a template, the bot will not create a postmortem document.
See the configuration section on statuses to understand how to configure a qualifying status to trigger postmortem generation.
Using the Confluence Integration
The bot makes the following information from each incident available for each postmortem document using injection flags:
!ib-inject-components!ib-inject-created-at!ib-inject-description!ib-inject-duration!ib-inject-impact!ib-inject-participants!ib-inject-severity!ib-inject-updated-at
To use these, simply add these flags to your template. For example - this is a fully valid template for a Confluence postmortem document:
## Description

!ib-inject-description

!ib-inject-severity

!ib-inject-created-at

## Participants

!ib-inject-participants

## Impact

!ib-inject-impact

## Components

!ib-inject-components

## Timeline

!ib-inject-timeline
The bot would replace each call to an injection flag with the content for that flag. In the end, you'll have a document rendered using your template with the referenced flags replaced by actual content.
Configurating the Confluence Integration
In the application's config.yaml, you can set the Confluence space and parent page and Jira settings using the integrations section:
Warning
You must provide all of these values in order for the integration to work. There are no default values for integrations.
integrations:
  atlassian:
    confluence:
      enabled: true
      auto_create_postmortem: true
      parent: Postmortems
      space: ENGINEERING
      template_id: 12345678
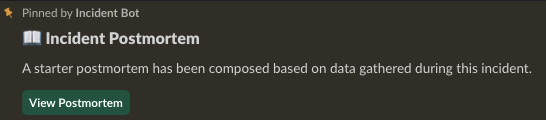
If the integration is properly configured, when an incident is set to its final status, you'll see a notification in the channel regarding the creation of a postmortem document:
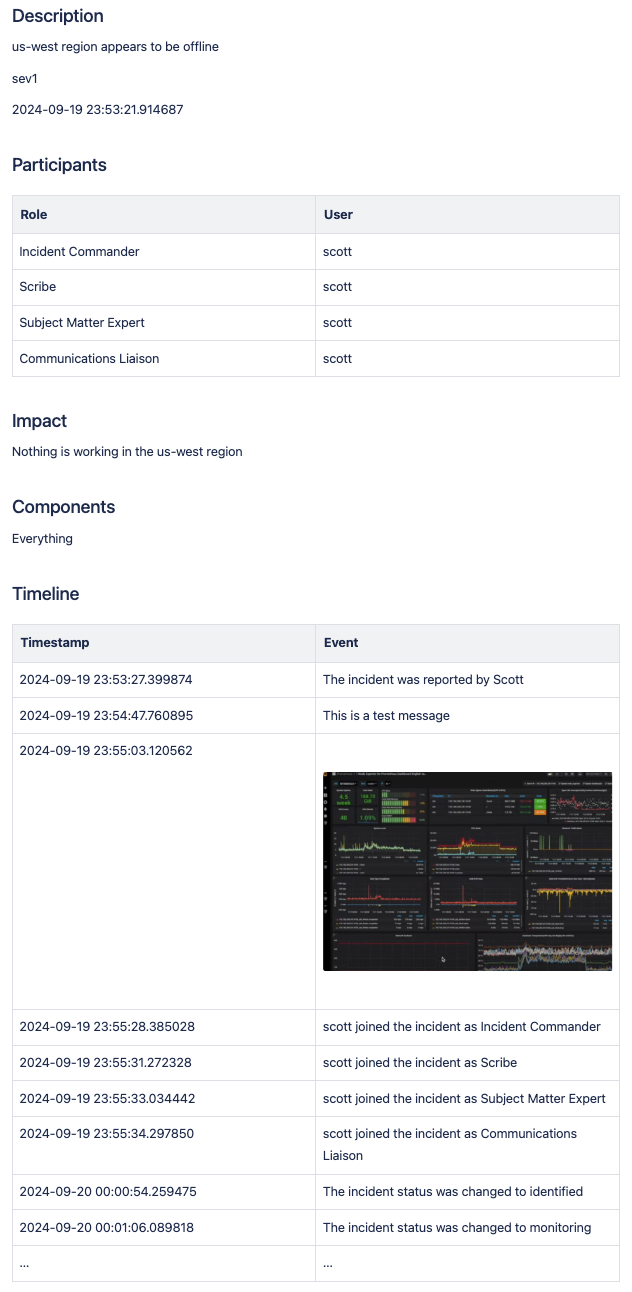
If you've used the appropriate flags in your document, data should be populated. Here's a very basic example showing how this works:
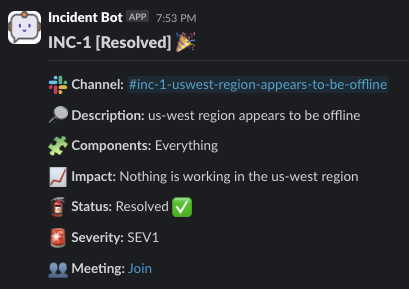
Here's the incident that postmortem references for comparison:
Jira
The bot can open a Jira issue when an incident is created. You can optionally create any number of additional Jira issues directly from an incident.
Using the Jira Integration
In the jira section, the project field is required. All other fields are optional.
If you do not provide issue_types or priorities, the bot will attempt to automatically fetch them from Jira. If this fails, you will need to provide them manually. Failure is often the result of too many items being returned from the Atlassian API and a limitation in Slack on how many items a single message can contain.
It is recommended to provide these manually if you wish to control them more.
Issue Types
This is a list of strings. This will populate the list of selectable issue types when creating a Jira ticket. These must be valid options for issue types in your Jira environment.
Priorities
This is a list of strings. This will populate the list of selectable priorities when creating a Jira ticket. These must be valid options for priorities in your Jira environment.
Controlling Creation
In the jira configuration section seen below, you can control whether or not an issue is created when an incident is started using the following options:
This would create a Task when an incident is opened containing the name of the incident.
Configurating the Jira Integration
In the application's config.yaml, you can adjust jira settings using the integrations section:
Warning
You must provide all of these values in order for the integration to work. There are no default values for integrations.
integrations:
atlassian:
jira:
enabled: true
auto_create_issue: true
auto_create_issue_type: Task
project: KAN
issue_types: ['Task', 'Epic']
labels:
- incident-management
status_mapping:
- incident_status: Investigating
jira_status: Open
- incident_status: Identified
jira_status: In Progress
- incident_status: Monitoring
jira_status: In Review
- incident_status: Resolved
jira_status: Done
Statuspage
You can integrate with Statuspage to automatically prompt for Statuspage incident creation for new incidents. You can also update them directly from Slack.
Provide the following environment variables:
STATUSPAGE_API_KEY- Statuspage API key.STATUSPAGE_PAGE_ID- Statuspage page ID.
Configurating the Statuspage Integration
In the application's config.yaml, you can adjust statuspage settings using the integrations section:
Warning
You must provide all of these values in order for the integration to work. There are no default values for integrations.
You can optionally add groups under the permissions.groups heading to limit who can create and manage Statuspage incidents from Slack. Anyone not in one of these groups will get an ephemeral message indicating they do not have the required permissions.
Using the Statuspage Integration
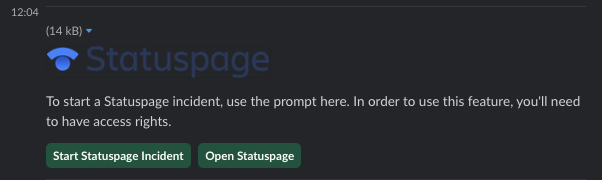
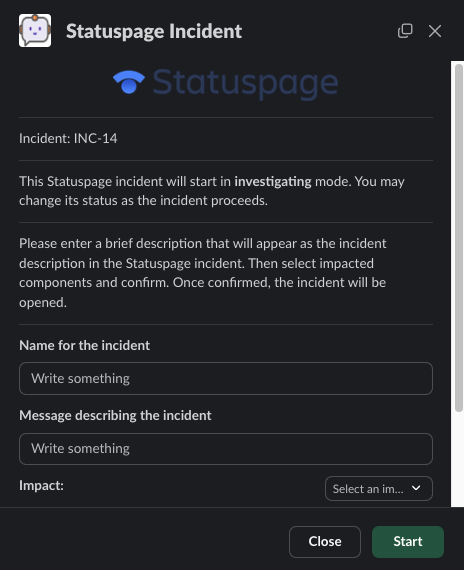
With the integration enabled, a new incident will prompt for the creation of a Statuspage incident:
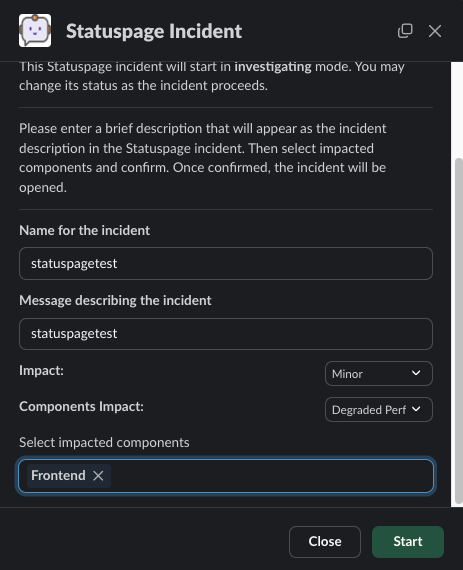
Fill out the required information to create a Statuspage incident:
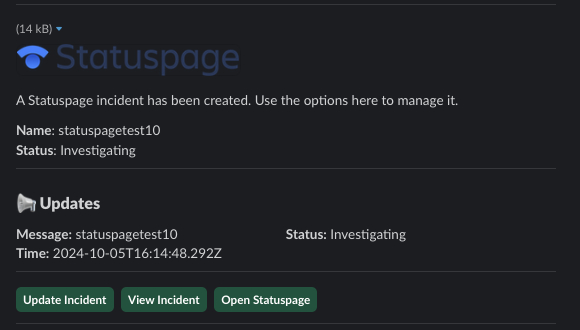
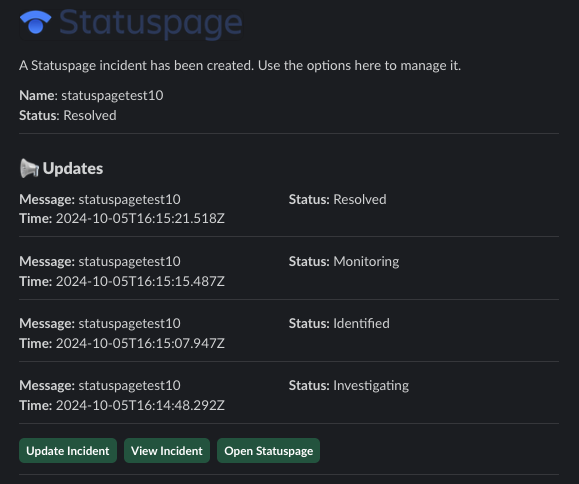
You can use the buttons to provide updates. The message will be updated indicating updates applied to the ongoing incident:
PagerDuty
You can integrate with PagerDuty to issue pages to teams. Set the following environment variables:
PAGERDUTY_API_TOKENPAGERDUTY_API_USERNAME
In the application's config.yaml, you can set the PagerDuty integration to active by setting enabled to true:
You are then able to use the bot's pager options. These are introduced at various points through the incident management process.
Zoom
The bot can automatically create a Zoom meeting for each new incident.
If you want to automatically create an instant Zoom meeting for each incident, use the following steps to create a Zoom app and enable the integration:
- Visit https://marketplace.zoom.us/develop/create.
- Create a Server-to-Server OAuth app.
- Fill out the required generic information.
- Add scope for View and manage all user meetings.
- Activate app.
- Add account ID, client ID, and client secret to env vars below.
Warning
The account ID can be viewed on the app's page in the Zoom Marketplace developer app after it has been activated.
Provide the following environment variables:
ZOOM_ACCOUNT_ID- Account ID from the step above.ZOOM_CLIENT_ID- The OAuth app client ID from the step above.ZOOM_CLIENT_SECRET- The OAuth app client secret from the step above.
Configurating the Zoom Integration
In the application's config.yaml, you can adjust zoom settings using the integrations section:
Warning
You must provide all of these values in order for the integration to work. There are no default values for integrations.
GitLab
The bot can open a GitLab issue or incident when an incident is created. You can optionally control status and severity mappings between Incident Bot and GitLab.
Provide the following environment variables:
GITLAB_URL— The base URL of your GitLab instance (e.g.https://gitlab.example.com).GITLAB_API_TOKEN— A personal or project access token with API access.
Configuring the GitLab Integration
In the application's config.yaml, configure GitLab under the integrations section:
Warning
You must provide all required values for the integration to work. There are no default values for integrations.
integrations:
  gitlab:
    enabled: true
    project_id: 12345
    # Create a GitLab issue automatically when an incident is opened
    auto_create_incident: true
    # Issue type: "incident" (default) or "issue"
    issue_type: incident
    # Optionally auto-generate a postmortem issue when the incident resolves
    auto_create_postmortem: false
    # Mark issues as confidential
    incident_confidential: false
    # Labels to apply to all created issues
    labels:
      - incident-management
    # Labels applied only to security-related incidents
    security_labels:
      - security
    # Map Incident Bot severities to GitLab labels
    severity_mapping:
      - incident_severity: sev1
        gitlab_label: severity::critical
      - incident_severity: sev2
        gitlab_label: severity::high
    # Map Incident Bot statuses to GitLab issue states
    status_mapping:
      - incident_status: Investigating
        gitlab_status: opened
      - incident_status: Resolved
        gitlab_status: closed
Phare
You can integrate with Phare to automatically prompt for status page incident creation when a new incident is opened, and to update or resolve the status page incident directly from your chat platform.
Provide the following environment variables:
PHARE_API_KEY— Your Phare API key.PHARE_PROJECT_ID— The numeric ID of the Phare project to create incidents under.
Configuring the Phare Integration
In the application's config.yaml, configure Phare under the integrations section:
Warning
You must provide all required values for the integration to work. There are no default values for integrations.
You can optionally restrict who can create and manage Phare incidents by adding groups under permissions.groups. Users not in one of these groups will receive an ephemeral error message.